Or you can call it my very last attempt to plan meals in a functional way 😊 ..
+++ Trovate la versione in Italiano sotto +++
I don’t know if it’s something that happens to you too but is some time now that when I get home in the evening (often even for lunch) I cannot decide what to cook.. I like cooking, I have always liked it, experimenting, inventing, but also replicating family dishes or following new recipes .. Except that to cook, as to do everything, you need time and inspiration. Lately I miss one as much as the other.
However, I realized that if I spend an hour planning the meals of the week, what to eat and when, my approach to cooking becomes more serene. Once I’ve planned I can obviously change my mind and decide to cook something different but the simple fact of having it planned rise my spirit.
So after a few months of papers scattered around the house or hanging from the fridge, I decided to make something more functional and nice; a blackboard. However, I did not want to have chalks around the kitchen, so I thought that a marker could be more functional. But on what material?
Over the years I have tried various types of surfaces, for a while I wrote on the kitchen tiles (if you have light, smooth and easily washable tiles it is an excellent solution) but now that I no longer have tiles in the kitchen I had to find a new idea.
What I was looking for was … Glass !! Just like I do with jars for jam or for frozen food. A glass surface and a paint marker 🖍 (uniposca) would make the perfect combo.

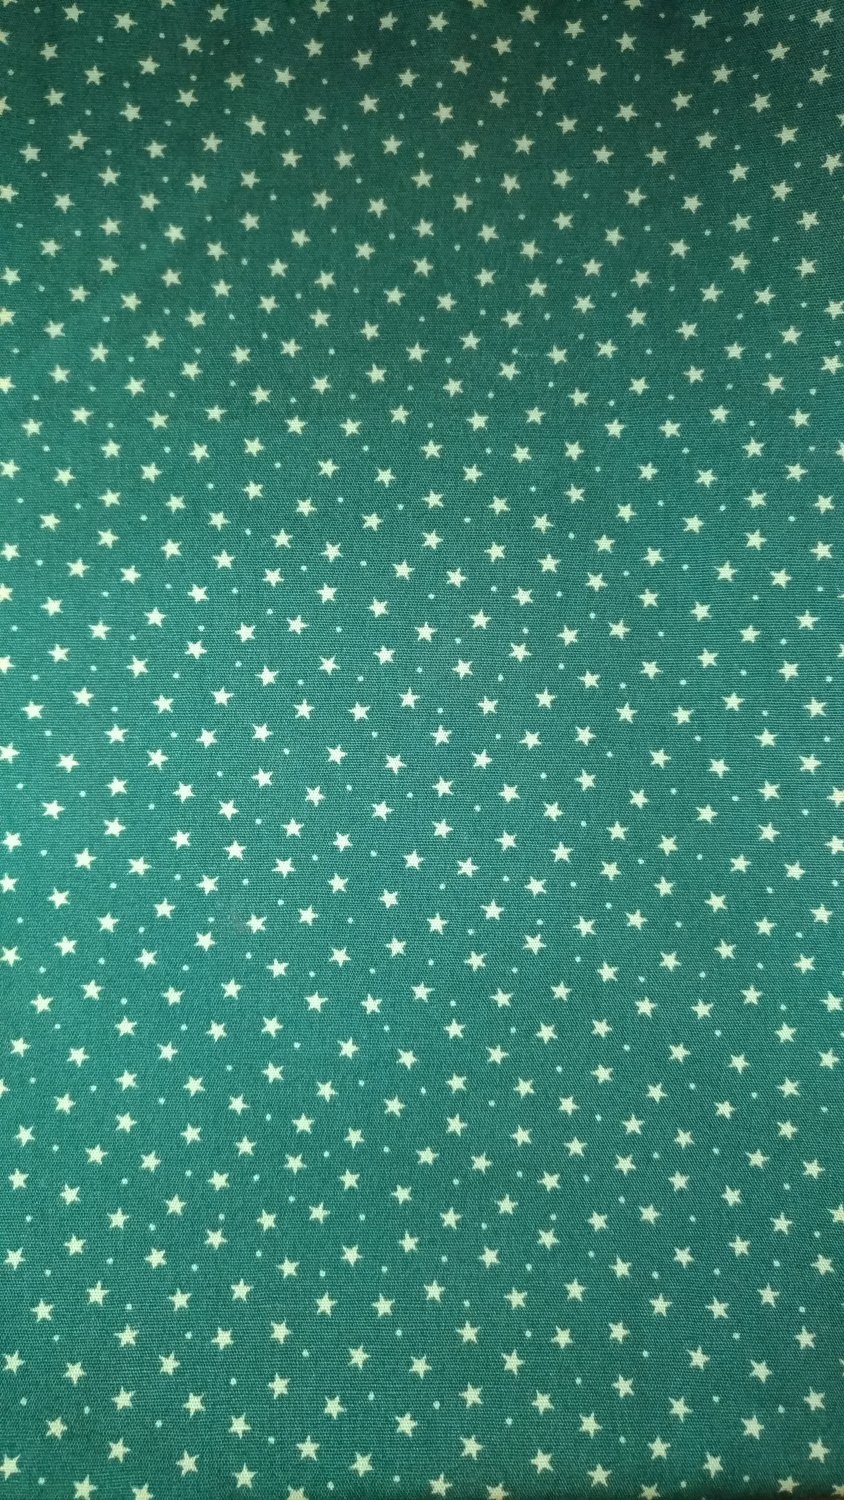
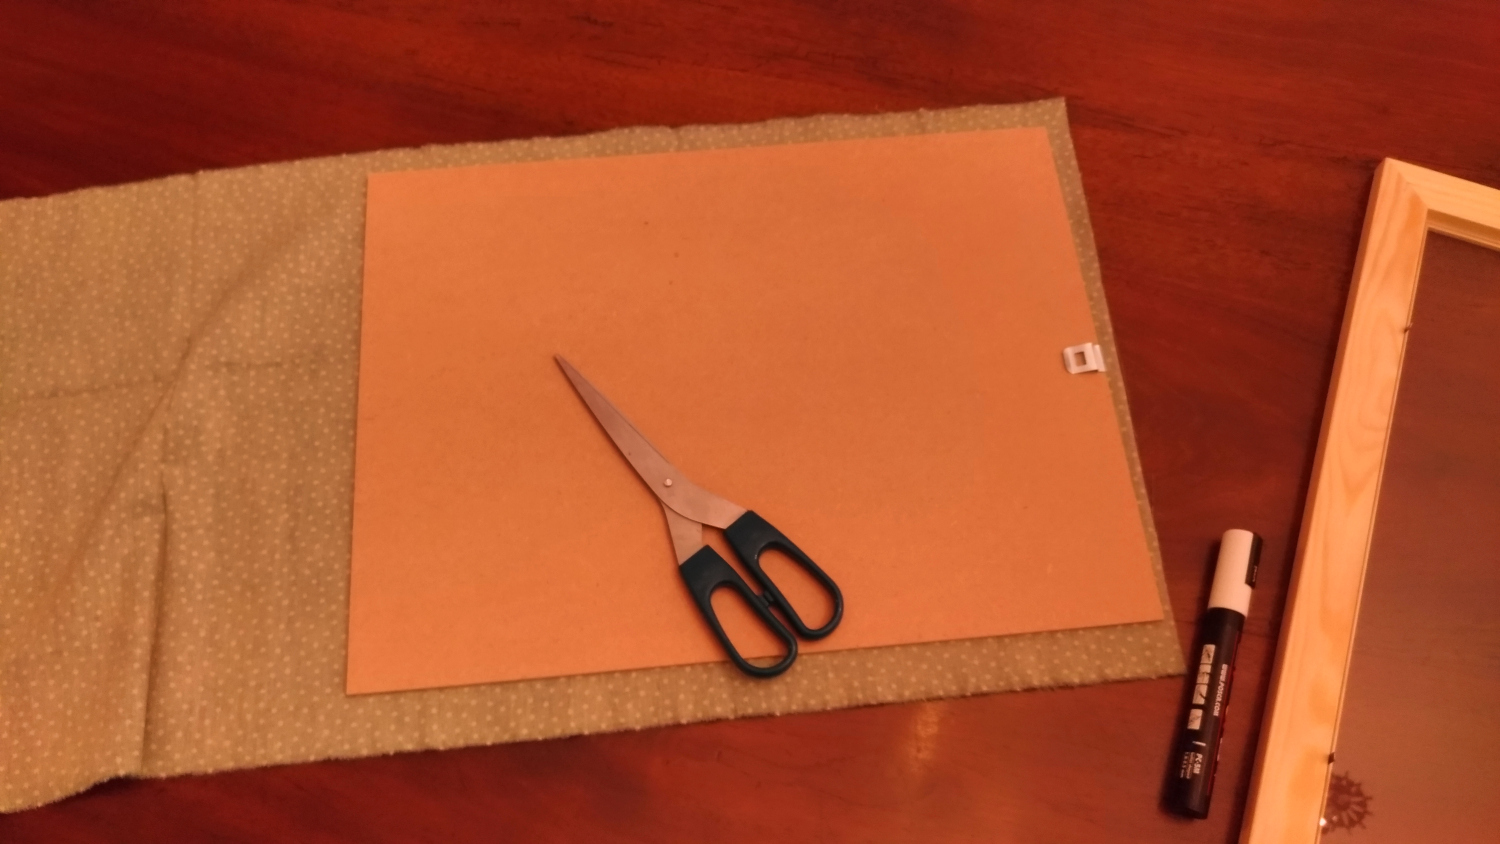
So what I need was.. A frame! So simple that I had never thought about it .. If you have a frame with a glass top (not plexiglass) at home, you can transform it in a lovely blackboard. All you need is a background, it could be paper, cardboard or, as mine, fabric. You just need it to be in solid color or thick pattern, something that doesn’t distract too much attention from what you write.
Once you have chosen the background you like best, cut it out using the bottom of your frame as a template and pin it in place. Now we can move to the glass.
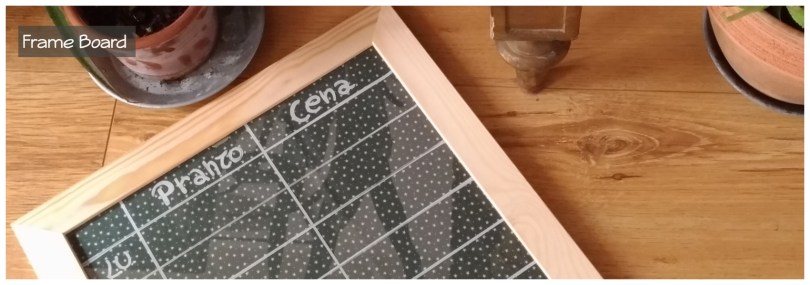
I needed a weekly plan so I divided the space into a grid: seven by two. On the vertical I wrote the days of the week while horizontally “lunch” and “dinner”. Since I had space, I also left two free lines at the bottom for the shopping list. Make your grid and titles on the front of your glass. Then turned the glass over and copied the writing and lines on the back with a marker (I used a white one but you can choose the colour you like prefer). Once the paint dried, I erased the writing from the front (use some alcohol) , inserted the glass into the frame and closed it.
In this way the grid and the writings remain protected by the glass, I can write and erase on the front without affecting the grid of my weekly plan. It’s such a simple thing that you probably have already thought about it if not .. Ta tha .. Your board is ready!
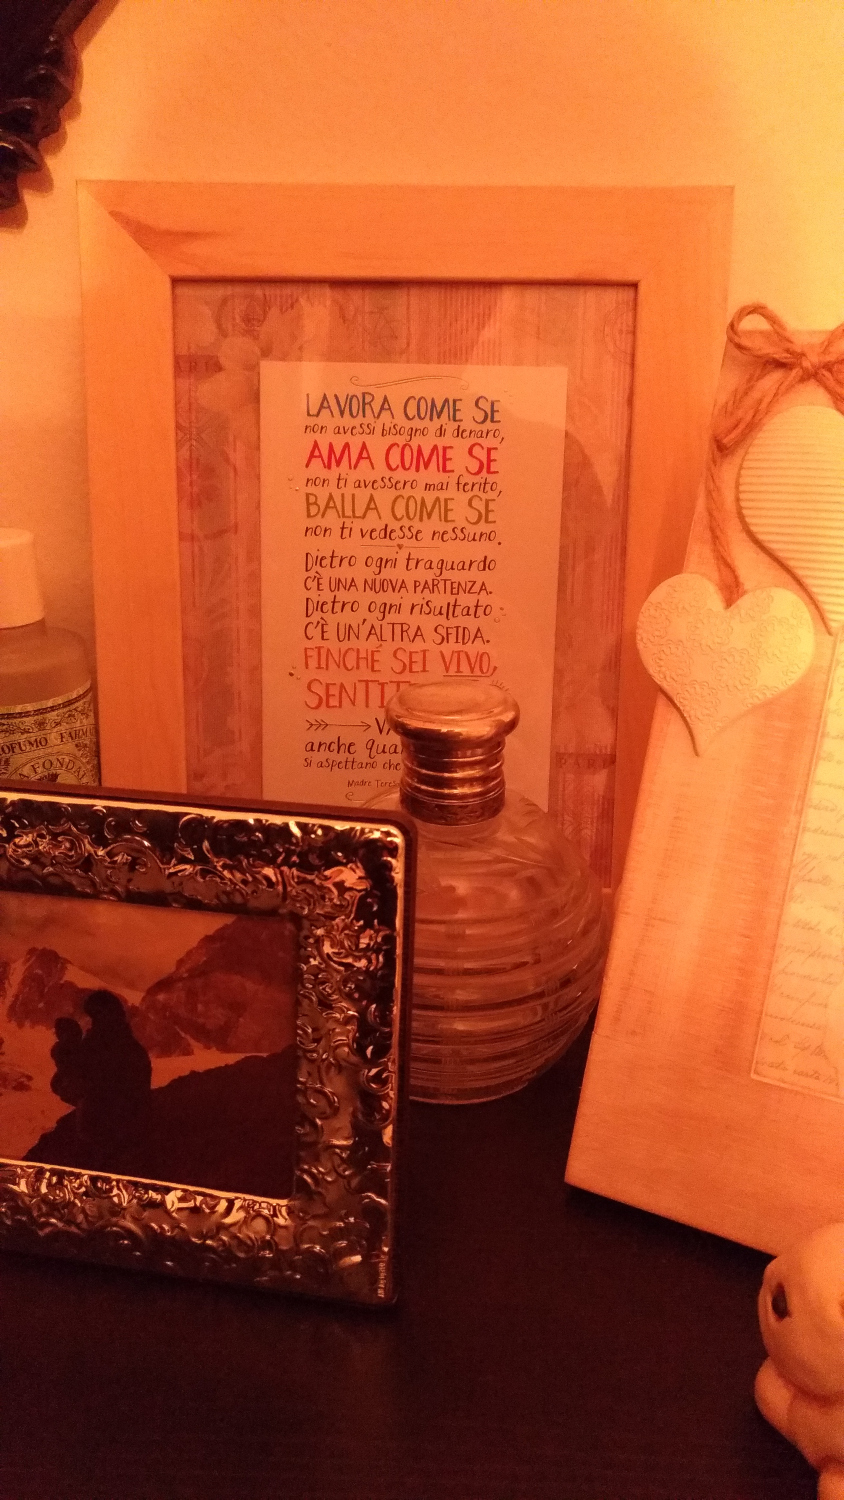
You can also use the same tecnique to make quote frame or whatever you like.
+++ ITA Version +++
Ovvero il mio ultimo tentativo di pianificare i pasti in modo funzionale..
Non so se è una cosa che capita anche a voi ma da qualche tempo quando arrivo a casa la sera (spesso anche a pranzo) non ho la forza mentale di pensare a cosa cucinare.. Non fraintendetemi, a me cucinare piace, mi è sempre piaciuto, sperimentare, inventare, ma anche replicare piatti di famiglia o seguire ricette nuove.. Solo che per cucinare, come per fare tutto d’altronde, servono tempo e ispirazione. Ultimamente a me mancano tanto l’uno quanto l’altra.
Ho capito però che se spendo un’oretta nel pianificare i pasti della settimana, cosa mangiare a quando, il mio approccio ai fornelli diventa più sereno. Non è detto che poi faccia effettivamente quello che ho definito ma il solo fatto di averlo pianificato mi solleva il morale.
Verificato quindi che la cosa funziona, non mi restava che renderla carina e funzionale. Dopo qualche mese di foglietti sparsi per la casa o appesi al frigorifero ho deciso di optare per una lavagna. Non volevo però avere gessetti a spasso per la cucina, così ho pensato che un pennarello potesse essere più comodo e funzionale. Ma su che materiale scrivere?
Negli anni ho provato varie tipologie di superfici, per un periodo ho scritto sulle piastrelle della cucina (se avete piastrelle chiare, lisce e facilmente lavabili è un’ottima soluzione) ma ora che in cucina non ho più le piastrelle ho dovuto farmi venire una nuova idea 💡
Quello che stavo cercando era… Il vetro!! Esattamente come faccio con i barattoli della marmellata o dei surgelati. Superficie di vetro e pennarello a vernice (uniposca). Perfetto!
Quindi cosa mi serviva? Una superficie di vetro su cui scrivere e che si potesse appendere.. 🤔 Una cornice! Talmente banale che non ci avevo mai pensato..
Se avete in casa una cornice con piano in vetro (non plexiglass) potete realizzare una lavagnetta in men che non si dica. Tutto quello che vi serve è uno sfondo, tinta unita o fantasia, a patto che si tratti di una fantasia fitta, qualcosa che non distolga troppo l’attenzione da ciò che scriverete. Potete optare per uno sfondo in carta, cartone o, come ho fatto io, in stoffa.
Una volta scelto lo sfondo che più vi piace ritagliatelo usando il fondo della vostra cornice come modello e fissatelo in posizione. Ora potete passare al vetro. Io avevo bisogno di un piano settimanale ho quindi suddiviso lo spazio in una griglia: sette per due. Sulla verticale ho scritto i giorni della settimana mentre in orizzontale “pranzo” e “cena” . Visto che avevo spazio ho lasciato anche due righe libere in basso per la lista della spesa.
Ho quindi capovolto il vetro e ricopiato sul retro scritte e righe con il pennarello bianco. Una volta asciugata la vernice ho cancellato le scritte dal fronte, ho inserito il vetro nella cornice e ho chiuso.
In questo modo la griglia e le scritte rimangono protette dal vetro, io posso scrivere e cancellare sul fronte senza intaccare la griglia del mio piano settimanale. È una cosa talmente semplice che ci avrete già pensato ma se non ci avevate ancora pensato.. Ta tha.. 😊😊